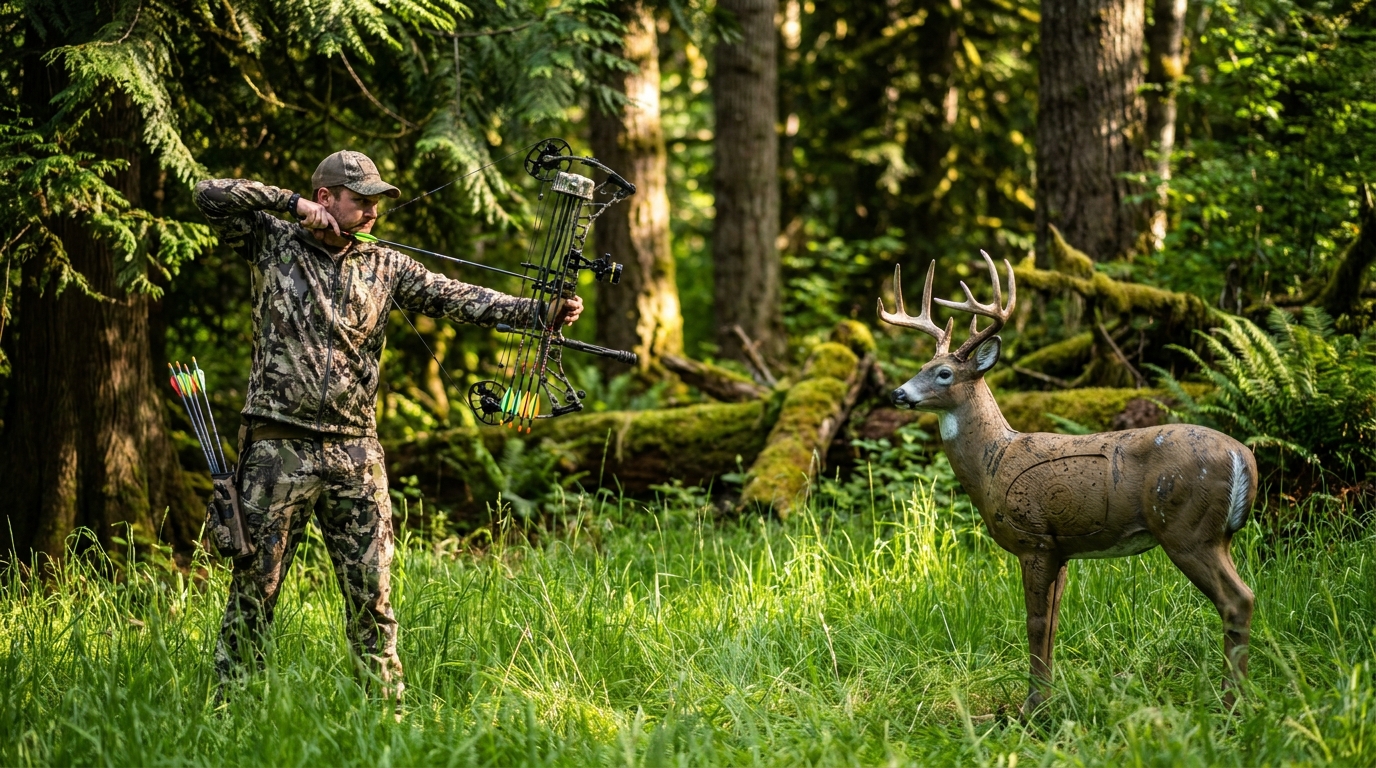
A compound bow that isn't tuned properly is a liability in the field. An arrow that's not flying consistently will group randomly at 40 yards, and what shoots 2 inches high at 20 will be completely unpredictable at 60. Bow tuning isn't complicated, but it requires systematic attention to each variable in sequence. Here's the process I go through every August before archery season to make sure my setup is performing at its best.
Start with the Basics: Arrow Spine and Draw Length
No amount of tuning will fix an arrow that's the wrong spine for your bow's draw weight and length. Consult a spine chart — most major arrow manufacturers (Easton, Gold Tip, Carbon Express) publish them — and verify your arrows are in the recommended range. An under-spined arrow fishtails on release; an over-spined arrow kicks to the weak side. Both produce inconsistent flight and poor penetration on game.
While you're at it, verify your draw length is set correctly. A draw length that's too long or too short causes form issues that tuning cannot overcome. If in doubt, have an archery shop check your draw length on the bow. It's free and takes two minutes.
Paper Tuning
Paper tuning is the baseline diagnostic. Set up a sheet of paper at about 4–6 feet from your bow, stand 4–6 feet behind it, and shoot through it. The hole the arrow makes tells you how the arrow is leaving the bow:
- Perfect bullet hole: The arrow is flying straight. Proceed to walk-back tuning.
- Nock high (tear pointing down): Lower your nocking point, raise your rest, or both.
- Nock low (tear pointing up): Raise your nocking point, lower your rest.
- Nock right (tear pointing left for RH shooter): Move rest left or adjust cam timing.
- Nock left: Move rest right.
Work in small increments and re-shoot after each adjustment. A paper tear that spans more than 2 inches in any direction indicates a significant issue. Smaller tears still need correction for field accuracy.
Walk-Back Tuning
Once you have a clean paper hole, walk-back tuning fine-dials your arrow rest position for center-shot alignment. Set a single vertical reference strip of tape or a straight edge on a target. Shoot at the reference from 10, 20, 30, and 40 yards, aiming at the exact same point each time using your 20-yard pin only. If the arrow impacts drift left as distance increases, move the rest left. If they drift right, move the rest right. When all arrows impact on the same vertical line regardless of distance, your center-shot is correct.
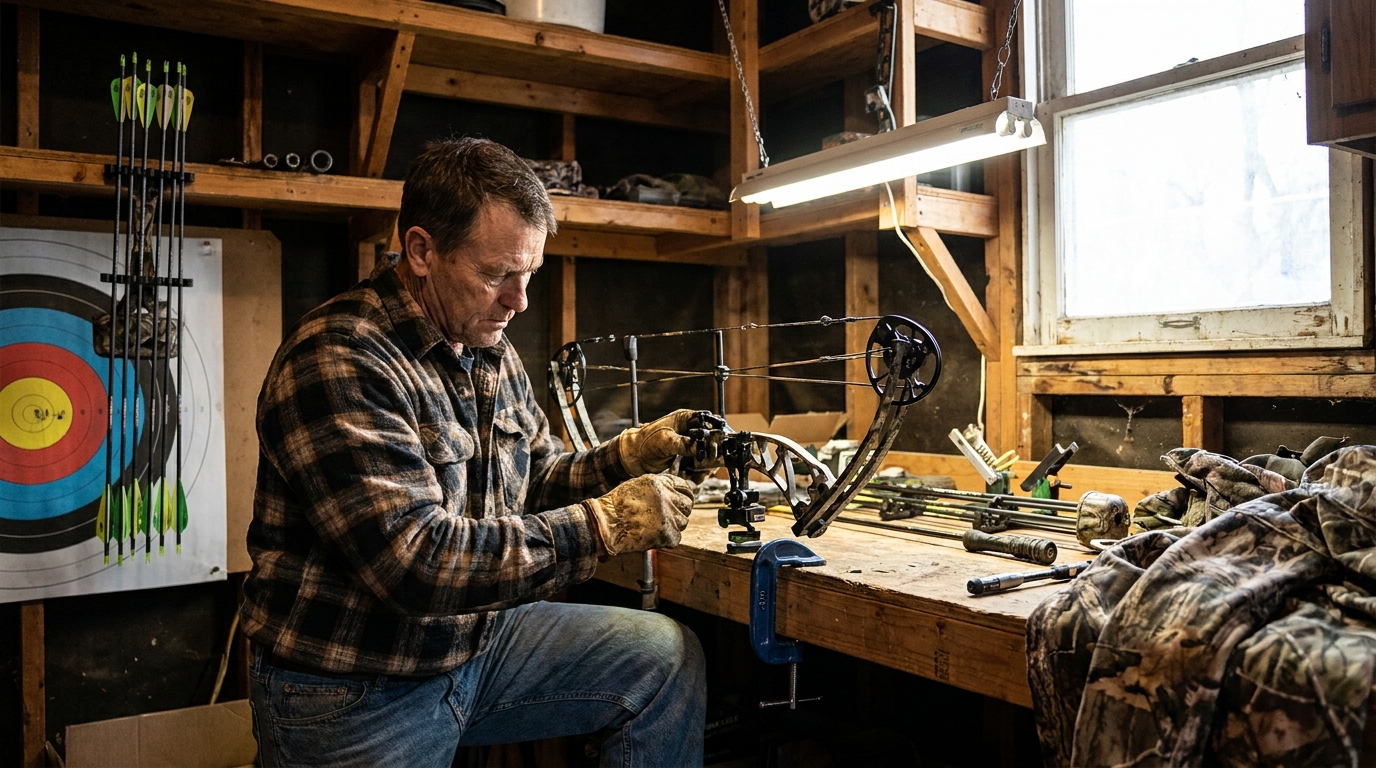
Cam Timing and Cam Lean
Dual-cam bows require both cams to reach full draw simultaneously. Asymmetric cam rotation (one cam bottoming out before the other) causes inconsistent arrow flight, torque, and reduced draw cycle smoothness. Many modern bows have a sync module or timing dot that makes this easy to check. For older bows, a bow press and careful observation of the cam positions at full draw is necessary. Cam lean — where the cam is angled relative to the string — introduces torque. Adjusting module position on each cam can address this.
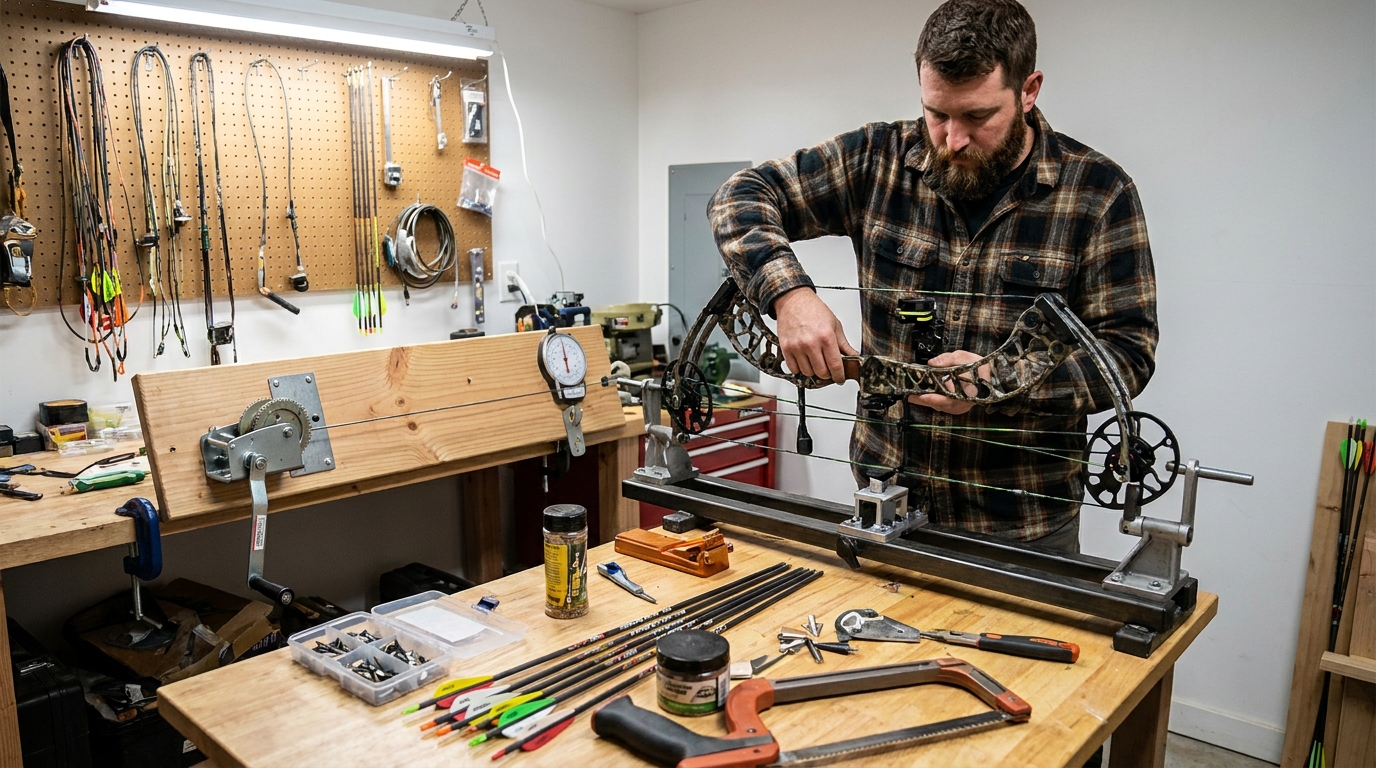
Arrow Rest Setup
Drop-away rests are the hunting standard because they eliminate contact with the arrow during flight, improving accuracy and consistency with broadheads. Ensure your fall-away cord is attached to either the buss cable or downforce cable per the manufacturer's specification, and that the rest is fully elevated at full draw and drops completely before the arrow reaches it. A poorly timed drop-away introduces inconsistency.
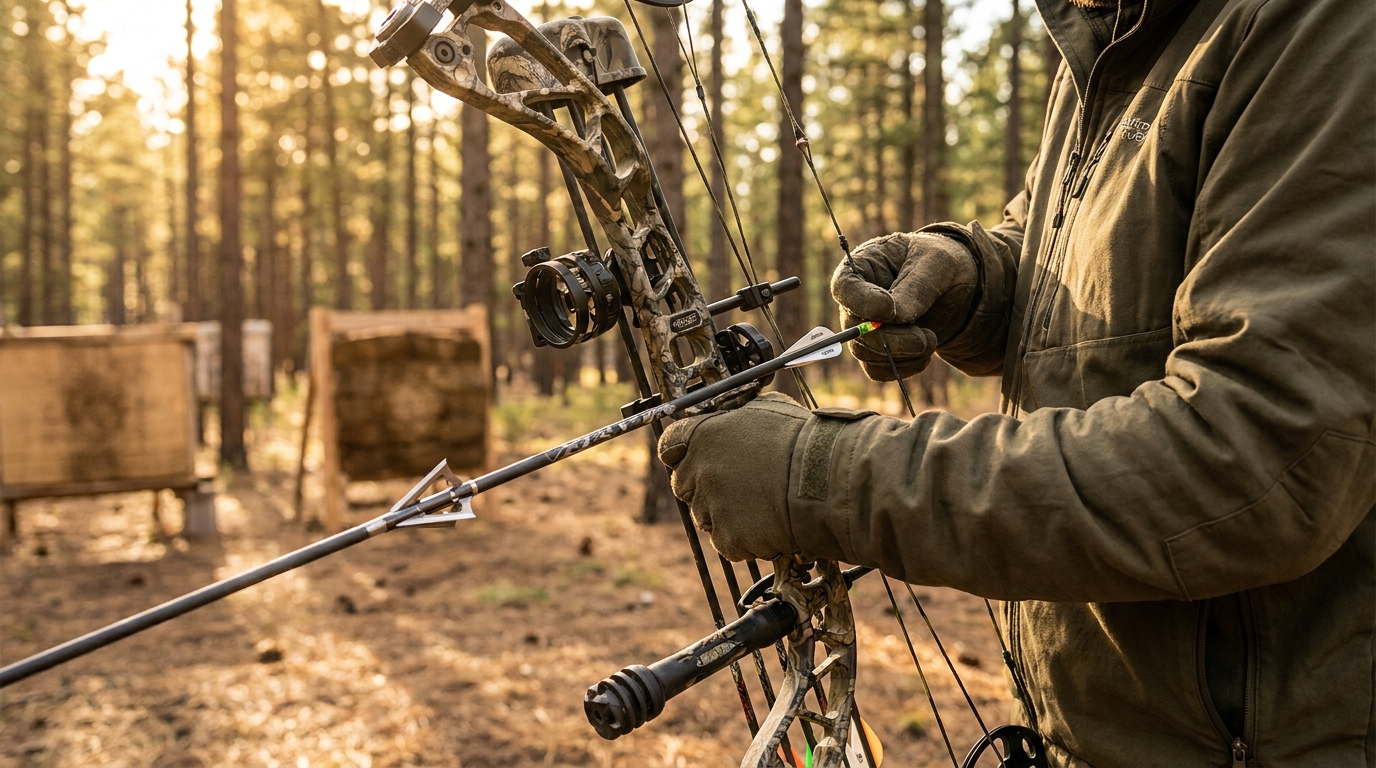
Broadhead Testing
Always tune with and confirm your broadhead flight before hunting season. Fixed-blade broadheads plane in flight differently than field points, and even mechanical broadheads can change point-of-impact. Shoot three broadheads at 20 and 40 yards and confirm they group with your field points. If they don't, adjust your rest or try a different broadhead that flies consistently from your bow.
Bow tuning takes an afternoon in August and pays dividends all season. A well-tuned bow is a confidence builder — and when a buck steps into range at 50 yards, confidence is everything.