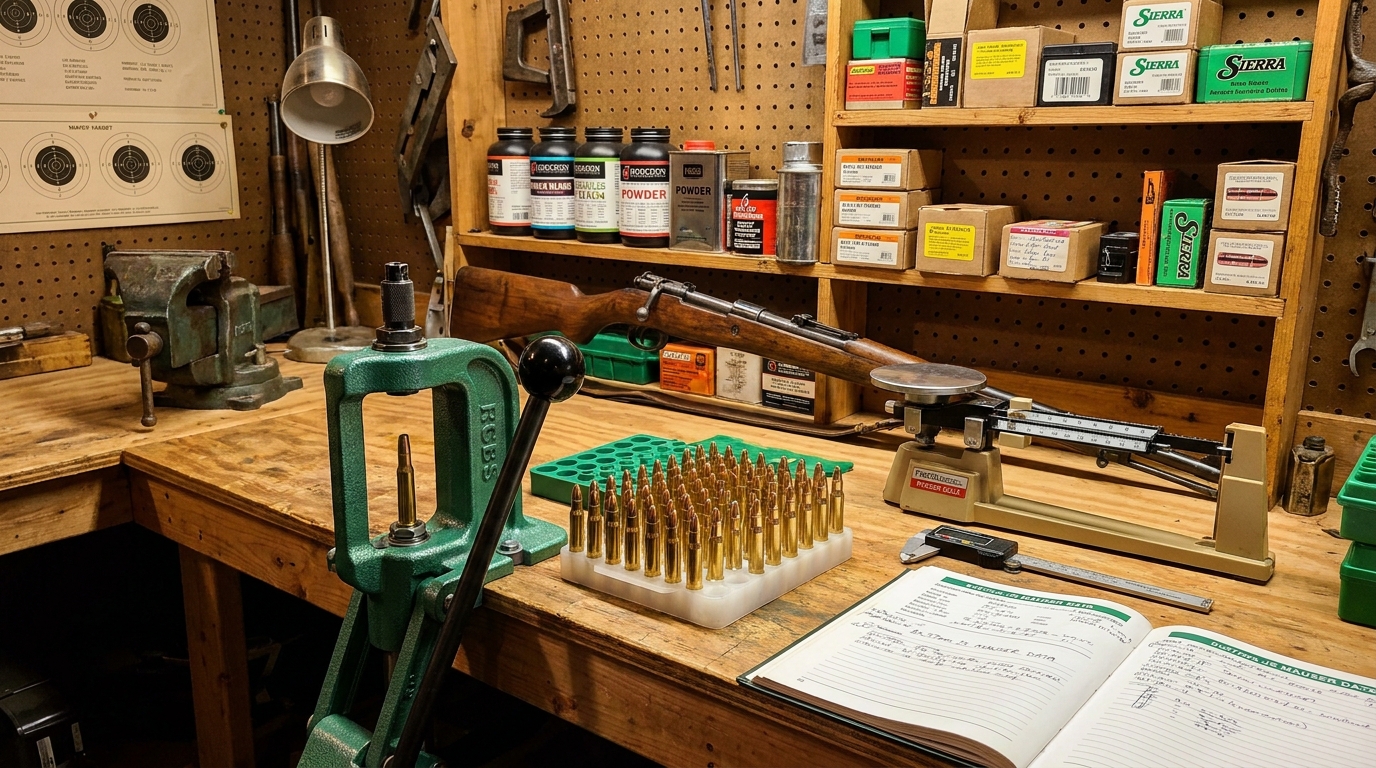
I've watched a lot of shooters obsess over bullet selection and powder charges while giving their brass zero attention, and then wondering why their groups open up after five or six loadings. The truth is that case preparation — cleaning, inspecting, annealing, trimming, and deburring — is the most important variable in accurate, consistent handloads, especially for rifle ammunition. Here's what I do with every batch of brass and why each step matters.
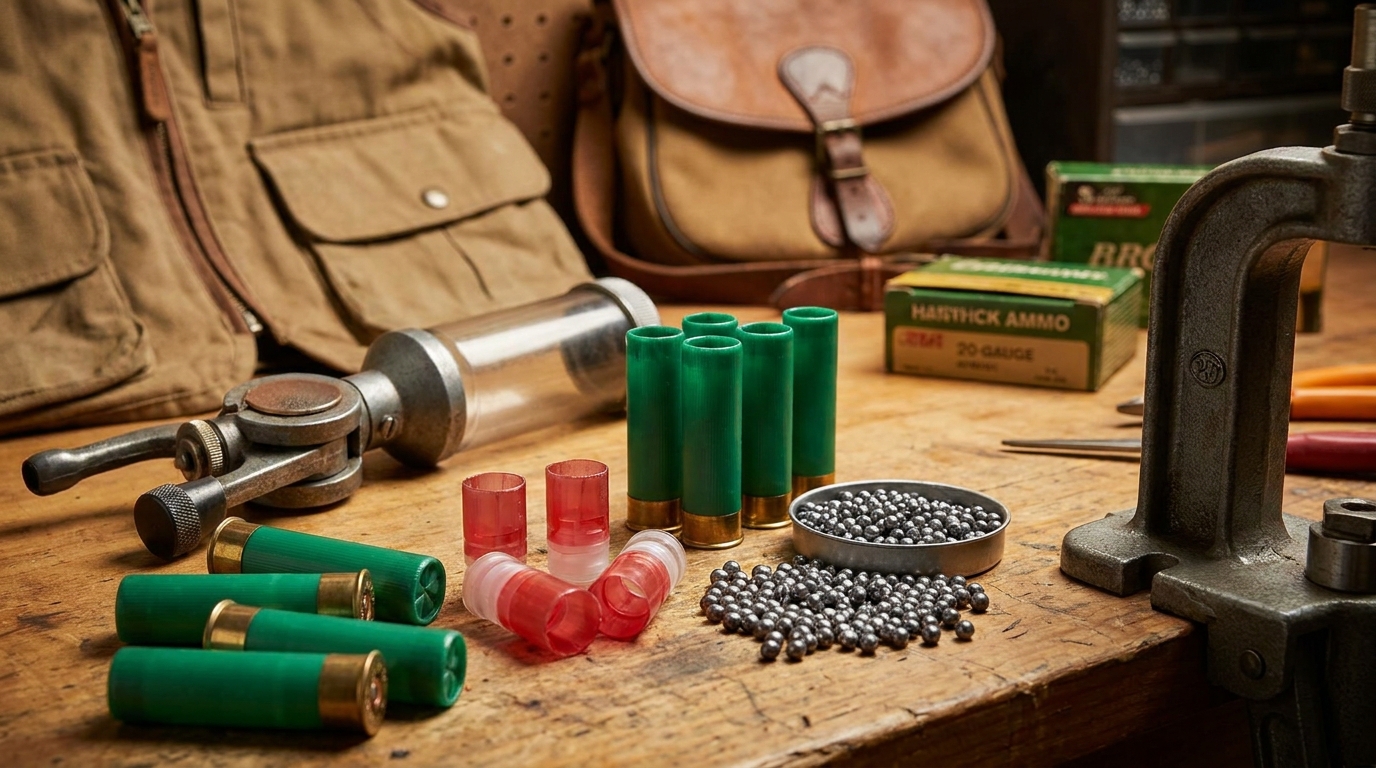
Step 1: Cleaning
Dirty brass is rough on your sizing dies and can cause inconsistent neck tension. Tumble your fired cases in a vibratory tumbler with dry media (walnut or corncob) for 2–3 hours, or use a wet tumbler with stainless steel pins for 2 hours. Wet tumbling removes carbon from primer pockets and inside the case neck — both of which affect primer seating depth and neck tension. For precision rifle work, wet tumbling is worth the extra steps.
Step 2: Inspection
Before you size anything, inspect each case. Cracks at the case mouth, split case mouths, dents in the body that won't size out, and signs of head separation (a bright ring near the case head on the interior) are all disqualifying. Toss these without hesitation. Cases aren't expensive; a blown case or stuck bolt is.
Mark your brass with a Sharpie on the head stamp to track loadings — most rifle brass is good for 5–8 loadings depending on the cartridge and pressure level.
Step 3: Full-Length vs. Neck Sizing
For bolt-action rifle ammunition that will only be fired in one specific rifle, neck-only sizing maintains the case's fire-formed shape, reducing work-hardening and extending case life. For any ammunition that will be used in multiple rifles or a semi-automatic, full-length sizing is necessary to ensure reliable feeding.
If you're shooting a bolt gun with a match chamber for maximum accuracy, try neck-only sizing and see if it improves your groups. Many benchrest and precision shooters only neck-size for this reason.
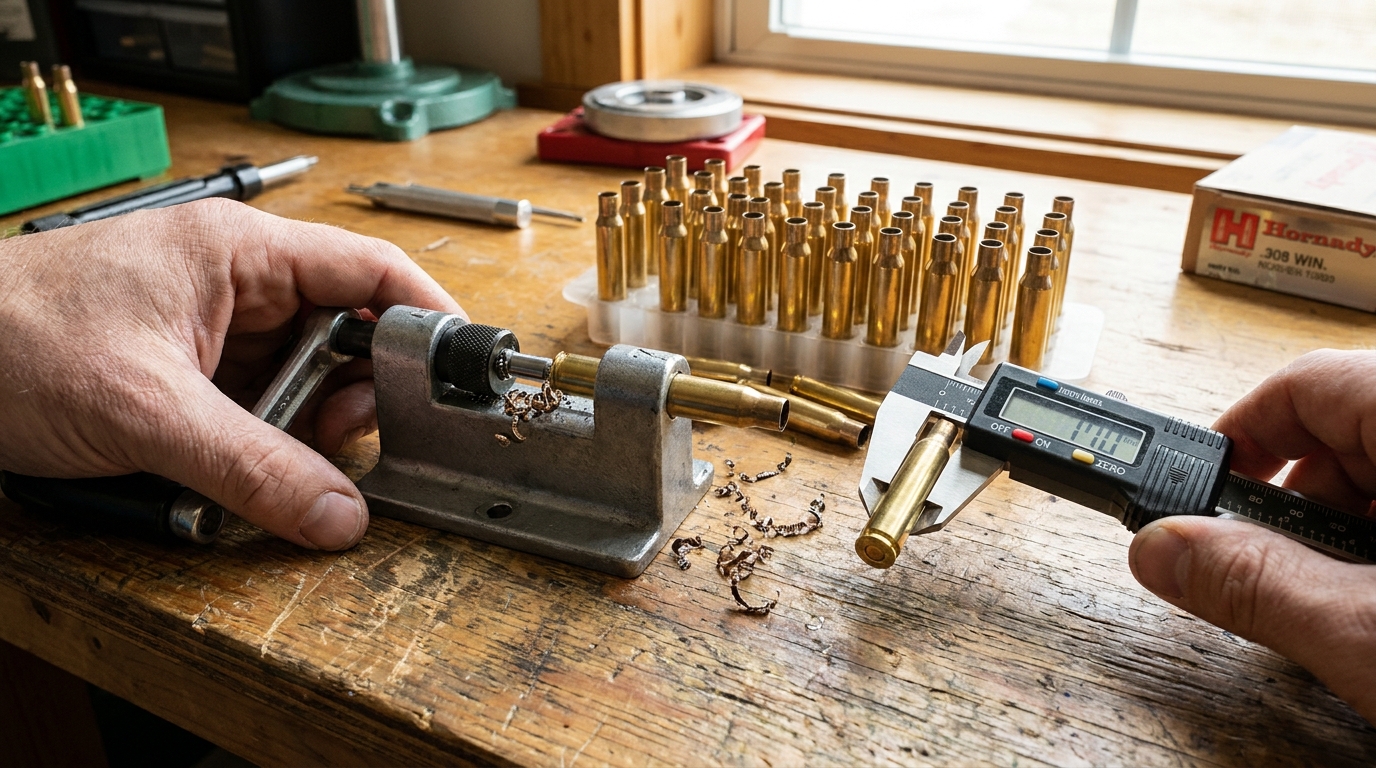
Step 4: Case Trimming
Every firing cycle stretches the case slightly. After sizing, case length exceeds trim-to length and needs to be cut back. Trim to the published trim-to length for your cartridge (e.g., 2.005" for .308 Win). Case length that exceeds maximum creates excessive neck tension and can cause dangerous pressure spikes — don't skip this step.
Tools range from a simple Lee case trimmer (inexpensive, works great) to the Giraud trimmer (fast and precise) to the Gracey power trimmer for high-volume work. At minimum, check every case with calipers after sizing. Trim anything that exceeds max length.
Step 5: Deburr and Chamfer
After trimming, the case mouth has a slight burr. Deburr the outside and chamfer the inside of the case mouth at a 45-degree angle. This allows bullets to start squarely into the case during seating and prevents shaving lead or copper from the bullet base. A hand deburring tool costs a few dollars and takes five seconds per case — there's no reason to skip this.
Step 6: Primer Pocket Cleaning and Uniforming
Carbon builds up in primer pockets after firing, especially in magnum cases. A primer pocket cleaner — a stiff-bristled brush or a motorized primer pocket cleaner tool — removes the carbon and ensures consistent primer seating. For match ammunition, primer pocket uniforming (cutting the pocket to a consistent depth) reduces variation in primer seating depth and contributes to ES improvement.
Annealing: The Advanced Step
Case necks work-harden with each firing and sizing cycle, eventually becoming brittle and cracking. Annealing — heating the neck and shoulder to stress-relieve the brass — restores ductility and significantly extends case life. An AMP annealing machine or a simple torch-and-turntable setup can anneal a batch of cases in 20 minutes. For high-volume precision shooters, annealing every 3–4 firings is standard practice.
The shooters who win competitions and punch the tightest groups don't just have the best components — they have the most consistent components. Brass prep is where consistency is built, one case at a time.